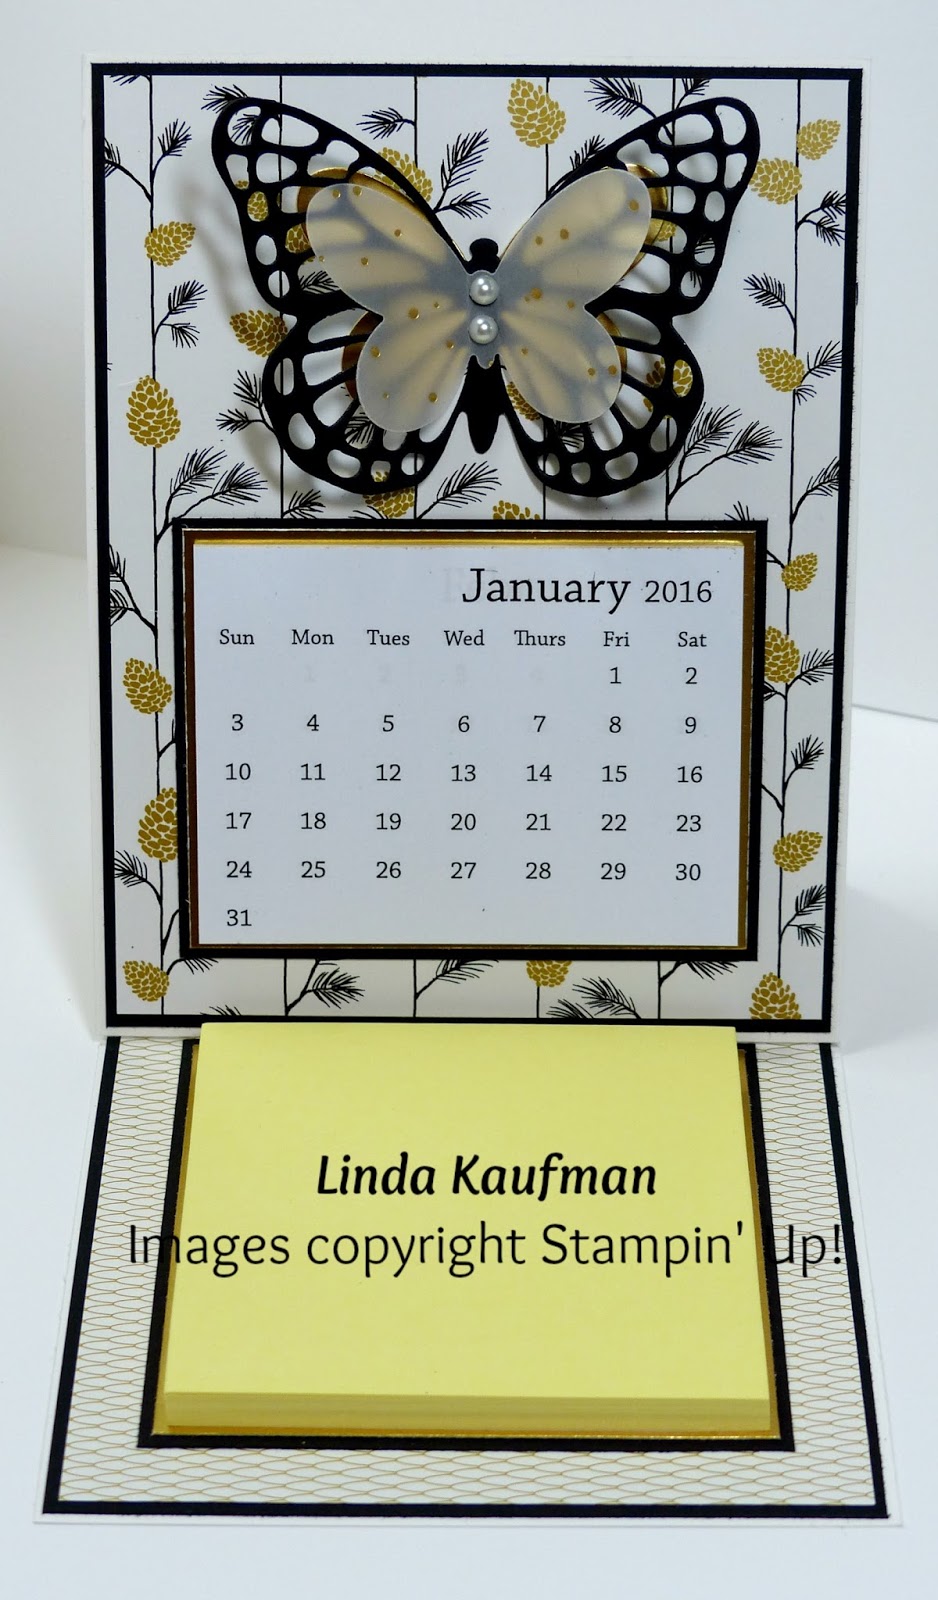

For this easel card I used Stampin' Up!'s Thick Whisper White card stock which is great for these 3d projects! I cut the card base at 11" x 4-1/4"". I scored the base at 5-1/2" and 2-3/4". On the front of the card base, I folded the 2-3/4" as a mountain fold. It is this section where I placed my front panel that holds the butterfly and the calendar.
Here is a diagram of the fold:

For the small calendars, I purchased them from Taylored Expressions. Click HERE for the link.
If you would like to purchase any of the products I used, simply click on the item and you will be magically whisked away to my online store where you can purchase these, or any other Stampin' Up! product. When ordering, don't forget to use this month's hostess code, UPYJVJHE.
If you have any questions, please leave a comment below.
- Download: 2015-16 Annual Catalog PDF (large file)
- Download: 2015 Holiday Catalog PDF (remember you have until January 4, 2016 to order any of these amazing products).
- Don't forget to check out this weeks 25% off Weekly Deals
- Visit the Year End Sale - up to 80% off. Take advantage of these unbelievable prices now thru January 4, 2016!
- January 2016 Hostess VIP Code = UPYJVJHE
- All customers making a purchase of $50 or more and using the hostess code above will automatically receive a SURPRISE gift in February 2016.
- Please remember if your order is $150 or more, don't use the hostess code, but rather claim the Stampin' Rewards for yourself.
Happy stampin',

kadnil59@gmail.com
kadnil59@gmail.com
Product List


Linda, Thank you so much for posting the directions on your beautiful calendar! I love your ideas & I'm subscribing to your blog. Please take a look at mine when you get a chance!
ReplyDeletewww.createwithcheryl.me
Thanks, Cheryl
This comment has been removed by a blog administrator.
ReplyDeleteI was interested in making the calendar with the framlits die but was confused on the instructions. the piece that is 5 1/2 x 8 1/2 and scored at 414and 2 1/8. was that the bottom piece or the top piece with the framlit die on it. I have everything to make the calendar but was a little confused on putting together. Wish you had a video of this one.
ReplyDelete